Well, I’m starting to feel like I am making some real progress! The piles in the sewing room, outside the sewing room and in the guest bedroom are starting to diminish and some are even disappearing! There are still projects ahead and of course, the pile of quilts that need the top stitching grows all the time.
Project 8:
This quilt started out with the medallion – which was really an experiment. I thought the use of harvested fabric that had the removed pockets, but as I look at it completed, the medallion shape sort of gets lost because of it. I might try this again, however, I would make the medallion larger and perhaps use the larger squares as well. This particular quilt is 5″ squares, but I think a larger medallion with 8″ or even 10″ squares might be the trick.
Project 9:

 I really like this one and so does The Kid; he has already claimed this one! Like he needs another quilt on his bed!
This is a larger version of quilts that he is currently using. I think the original strips were 3″ x 9″, but once assembled there was some significant trimming. You can see my ‘signature’ red strip and one in the corner piece (this will have a bright red flannel backing). I didn’t quite have enough border fabric, so I improvised on the two sides with a tiny patched strip. I really like this. Happy accidents!
Project 10:
This quilt is still in the “wait & see” category. I actually saw this block originally as one of many, in fact, the star was actually less than 10″. I took the pattern and blew it up really large and then used strips of denim to create the arms.


After sewing the strips together to make the star, I removed the paper backing, but now I am thinking I should have left it until it could be top stitched. I think this might be a real headache to do without getting the quilt all distorted.
I thought about adding a border, but just with the star alone is already 75″ square! I think it might work better this way, without a border. We’ll see, I guess.
We took the quilts outside to the front to photograph them. It was a bitter 10 degrees while we were doing this and the wind was blowing pretty well. That’s why The Kid is in the photos trying to keep them still enough to take the photos. In the short time it took to hang and take the photos, we both had numb fingers and faces. I don’t know if you live in a colder part of the states (of the world?) but our memories of the last few winters were pretty warm and almost coat-less. In fact, it was in the mid-fifties until Christmas and then a real cold front moved across the nation. At least we only got minimal snow (*fingers crossed). These are the days when I miss California the most!!
Well, a few hours and we’ll be into 2018. Wow. Time sure flies!

Happy New Years folks!

 The seams from the back and crotch go into this as well, when they represent a significant length. Most of the time, to get really long unbroken seams I will leave in the ‘intersections’ of the seams, but in most cases I will try to remove them when they’re too bulky. Unless you have a heavy duty sewing machine, you’re going to lost your cool sooner or later as these “knots” (as I call ’em) will break your thread, break your needle and in the worst conditions, break your machine!
 There she is! It is about 90″ long and about 70″ wide. I argued with myself back and forth on adding a border, but in the end, I think it will go without. I think just about any borders would pale in comparison and take the emphasis of the quilt away from its uniqueness. The backing is a deep indigo blue flannel that is just so soft. Once it is top-stitched (I am thinking blue jean “yellow orange” stitching) to help keep this beast together.
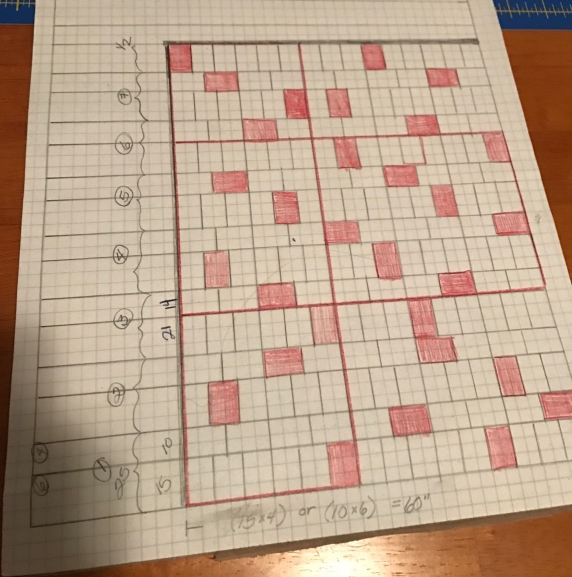 The original project was less ambitious but once I had it laid out on my cutting table, it appeared too small. So it was widened -65″ – and lengthened – 85″.
 The rectangles are laid out in rows that are end to end and alternative rows that are side by side. I thought that this might make for a more interesting and more pleasing layout.
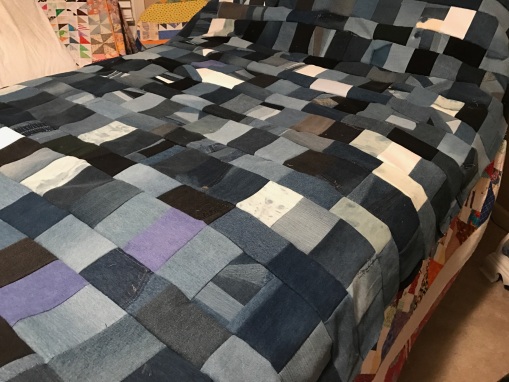 A closeup (before ironing) of the alternating placement of the rectangles:
 And I underestimated the number of those pieced pieces and now I have about 25 left… to small to make a quilt, but too many to just throw away. Sigh. Another project I guess!
 My experience with making denim quilts is that they are quite warm without the inclusion of batting. And they are quite heavy without the added weight. Now I just have to lay my hands on funding for the top stitching!! (I haven’t forgotten you Becky!)
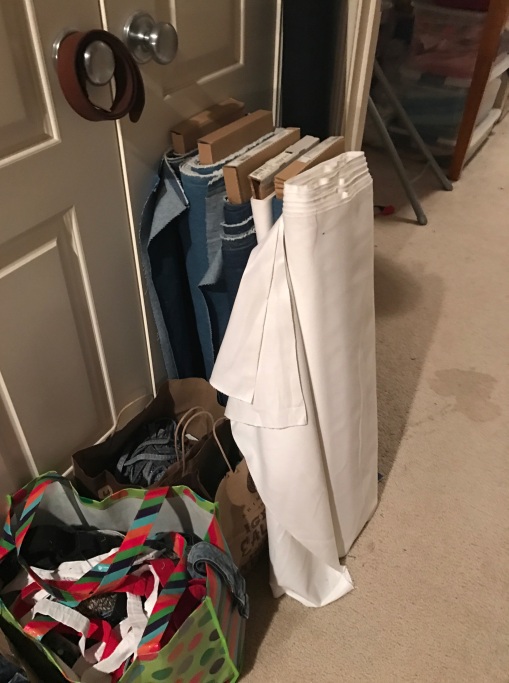 You may have noted that I have spilled out of the sewing room into the hall. In addition to the denim (still on bolts!) I also have some remaining waistbands that are intended for some projects in the way of handbags and backpack designs that I want to try. Waste not, want not!
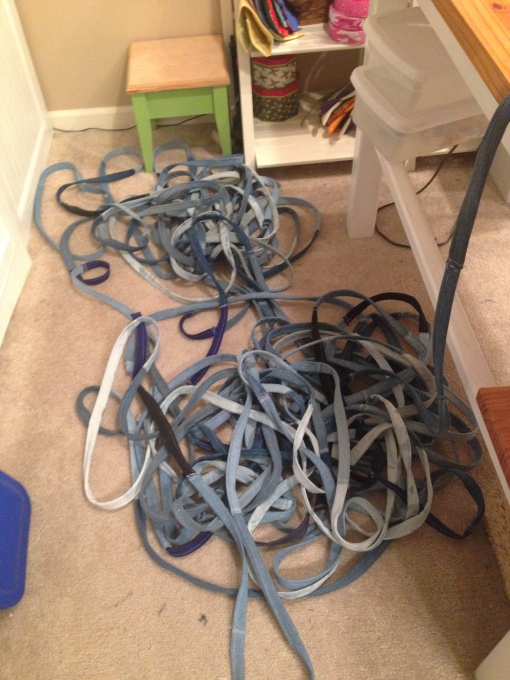 But I did do something that I thought I’d never do while in the process of turning the three inch strips into the finished strip for braiding. And that was to buy pre-wound bobbins.
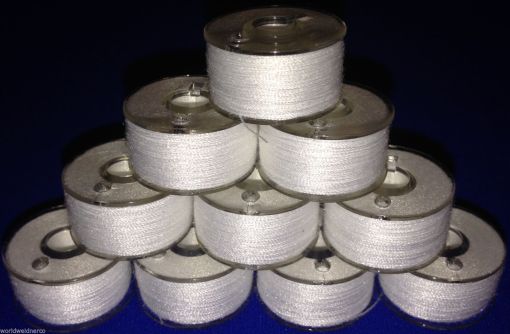 I don’t know why, exactly, I hesitated to do so, maybe something leftover from an early home-ec class or something about being thrifty and always winding your own bobbins. And heaven knows that I have enough bobbins and don’t really need to invest in more. But I found that with all the basic sewing that I’ve been doing, I have been just going through tons of bobbins and to sit and wind bobbins seems to be the most essential waste of time. Additionally, the pre-wound bobbins that I purchased seem to be wound very efficiently, that is to say, it seems to be twice as much thread on the bobbins than when I wind them, so I find that I am not changing bobbins as often. Which is awesome… again with the amount of basic sewing I am doing, nothing is as irritating just getting into a groove of sewing just to have the bobbin run out. And as my machine is overdue for maintenance, the bobbin sensor is getting in the habit of not alerting me and I find that I can run through feet of sewing before I realize that its not stitching! Argh!