Who recalls the fairs and town squares of yesteryear with the magical Calliope – or are some of us are known to call it “merry go ’round”? Or those bouncy horses from our youth that did no more than being turned into someplace  we threw clothing?
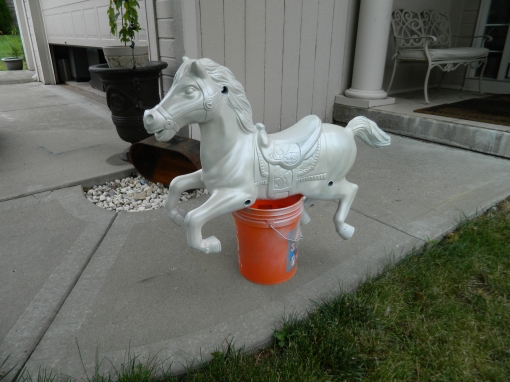
I started this piece a very long time ago, when I saw one of those bouncy horses in a thrift store. Remember them?
 I have wanted to do just this kind of project for a while. I had picked up plushy type horse a while back thinking I could it with that and it had some sort of weird plastic skeleton but when came right down to it, it wouldn’t work. So I turned into a unicorn trophy, like you see hunters do.
 Unfortunately – or fortunately – I never got it hung up for lack of wall space. I also thought that maybe might get the wrong impression if they came into my house and saw poor Charlie!
So, I had seen the bouncy horse and of course had to scoop it up. It had been in the store for some time and one of the springs was missing so I got it for a super good price.
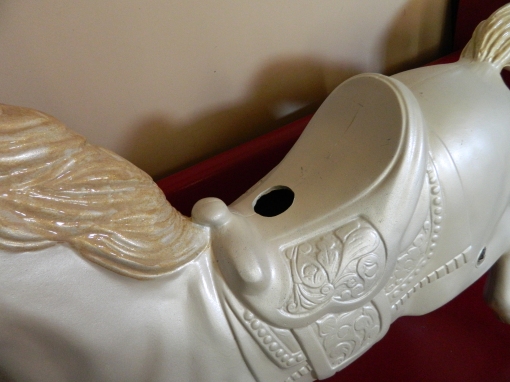
Now he sat in the garage for some time before I got around to working on it. Of course removing it from its ‘harness’ was the first step. Then giving it a good cleaning.
I then used a magical color of spray paint I found at HomeDepot (hi guys!), called Pearl Mist. It was kismet I swear.
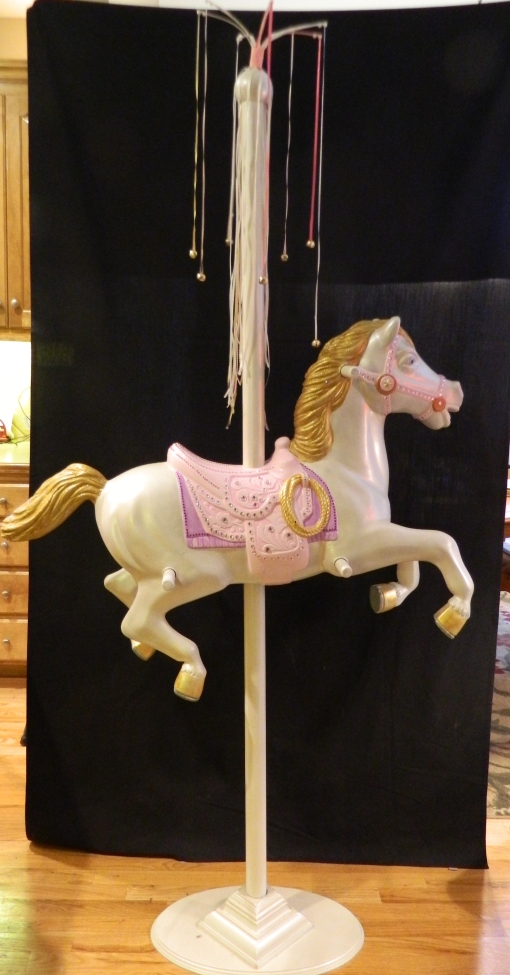
Several coats of spray paint later, it was ready for more detailing. I paint the mane and the tail with Martha Stewart’s line of paint that had glitter build right in.
Then it was onto the other bits, and step one was the saddle. I hand painted it with a medium shade of pink, a little darker pink ‘behind’ the details and added a violet to make the ‘blanket’ stand out. I mean, really, what little girl didn’t love pink and purple?
Once I had added a few more coats of the gold glitter, I then sprayed a clear finish to seal the paint for a longer lasting finish.
I then glued pink ‘jewels’ onto the saddle and small gold rhinestones in the mane and tail to make it sparkle.


Then he sat for a while. First in the garage but I was worried he’d get bumped or knocked over, so then he came to live in my office. I finally got into the “let’s get things finished mode’ and the horse was the first to be completed.
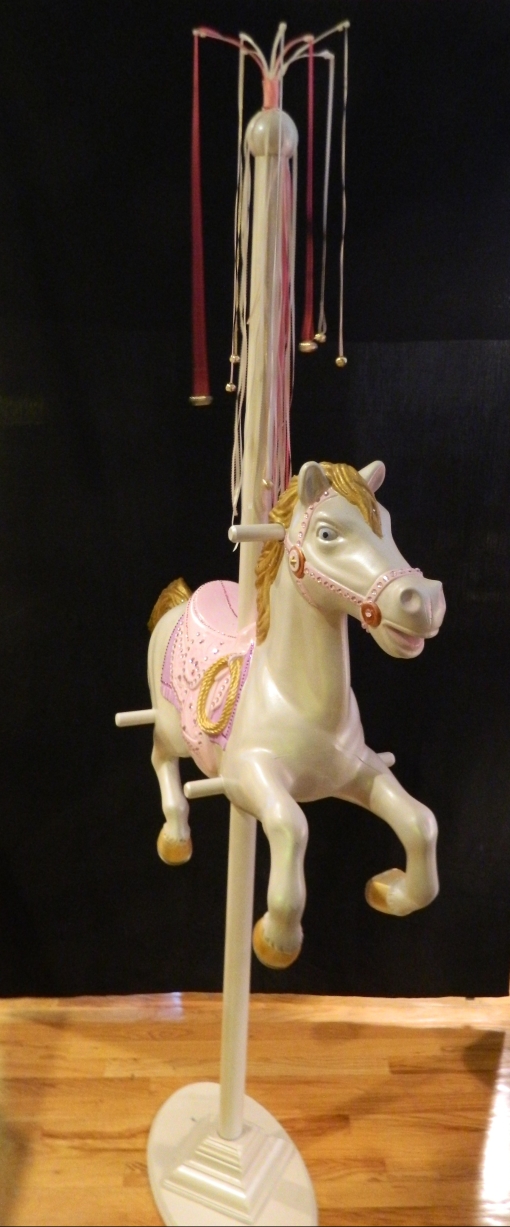
I knew he would need a base, so using a prepared oval plaque from Michael’s (hi guys!) and built a base holder from some scrap baseboard wood I had and painted with the same pearl mist color.
I used 2” PVC pipe for the pole painted and again, painted to match. There are actually two pieces of the pipe with a connector in the middle so that he had something to rest on and not fall to the floor. I filled the cavity around the pole inside the horse (he was hollow) to add to the stability of the horse with spray foam.
And that was about it. I fussed around with build a fanciful top to disguise the top blunt end of the PVC pipe with ribbons and bells and I like the way it turned out.
So, without further adieu:
I hope you liked this and come back soon!

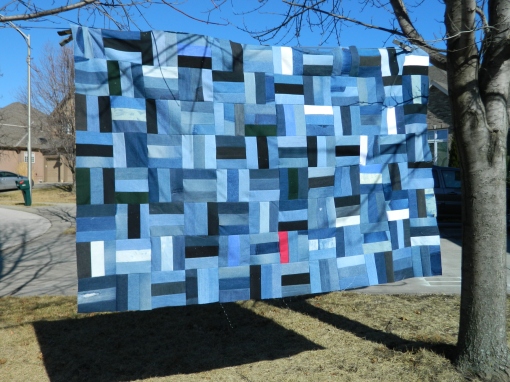
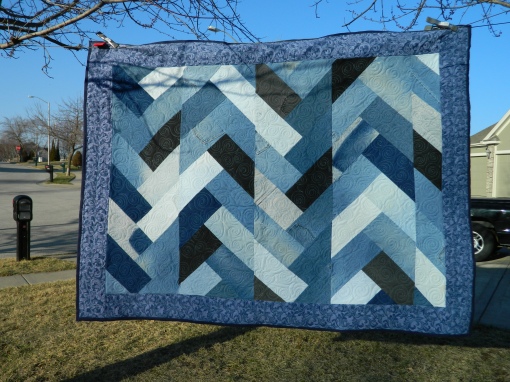 This quilt is another made using the “french braid” pattern, much like this
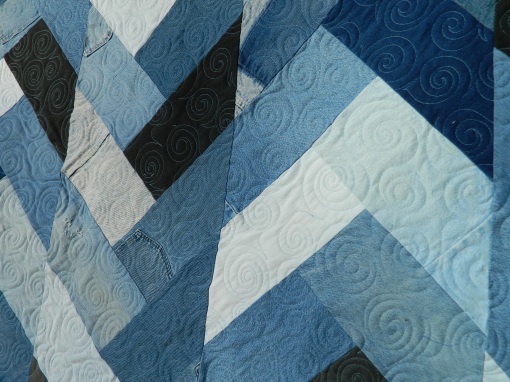
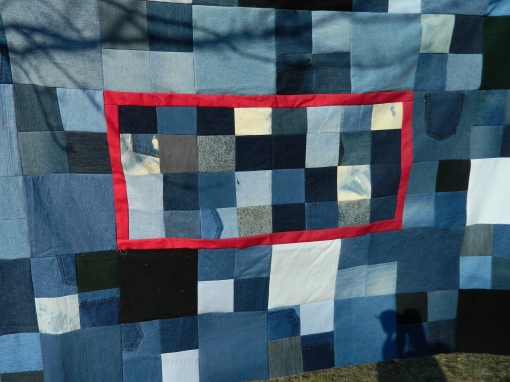
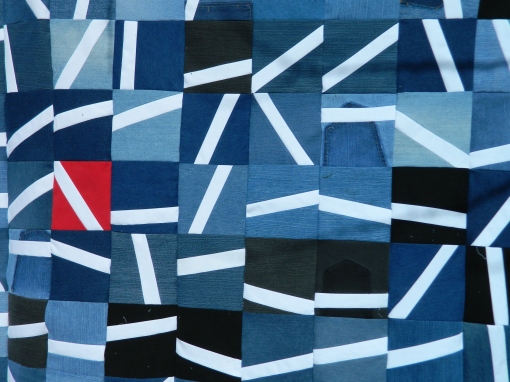
 When I completed the binding, I added my new quilt label in the shape of a little red tag. I have chosen to use this on all of my denim quilts.
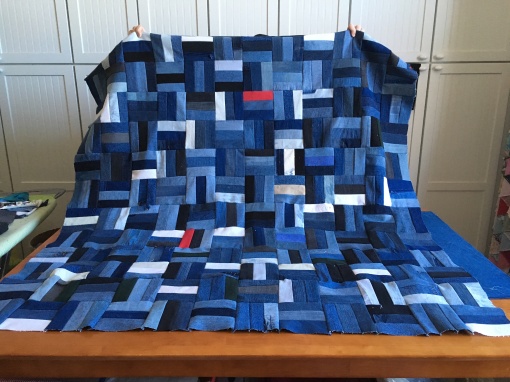
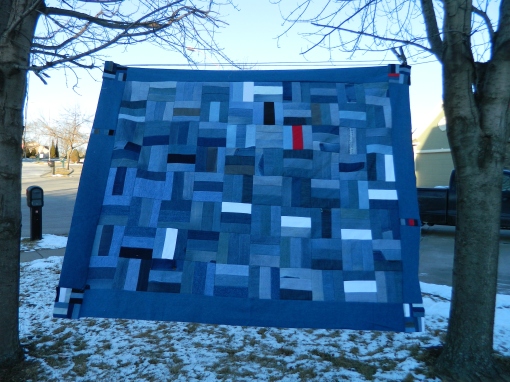
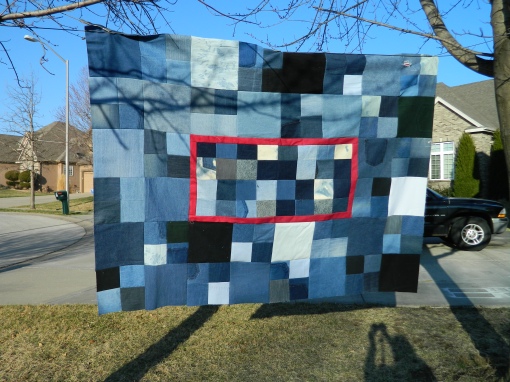 This will make a very nice quilt for a boys’ or men’s use… nothing like the soft feel of faded blue jeans!
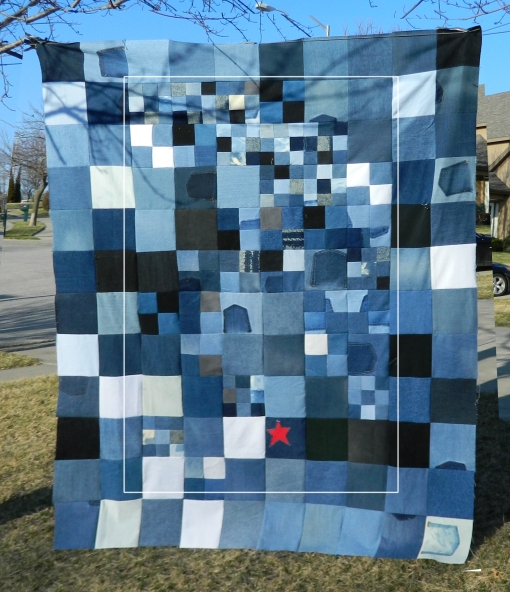 This quilt is HUGE! You can see that it is so big that it actually dragged on the ground. This is the largest quilt I have made (so far)! It is going to make someone really happy and very, very warm!
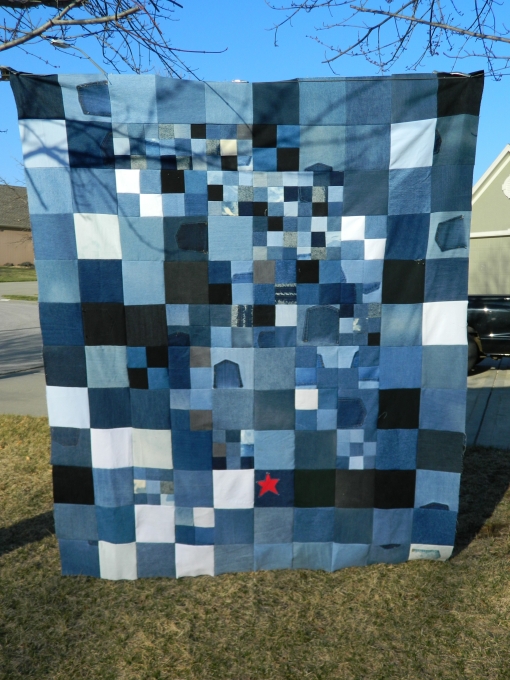 My little spot of red was the little lone star. I intentionally left the outsides ragged so that when it is washed it should fray very nicely.
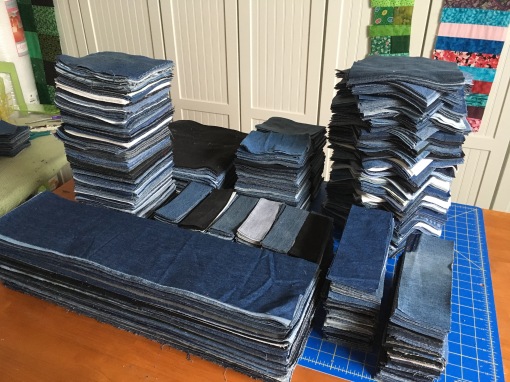
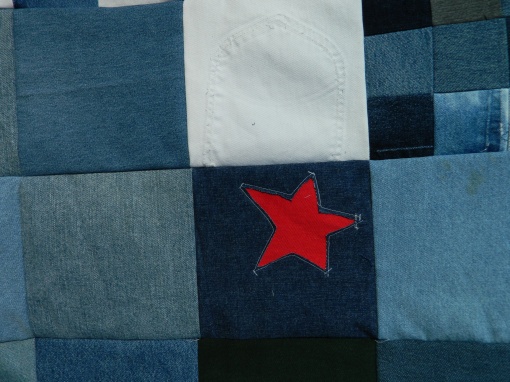 So, I add the unfinished pile waiting to be long-arm quilted. And there are already a bin or two already waiting to be completed over at Becky’s place. What I really need is an inflection of money, i.e. a job! LOL
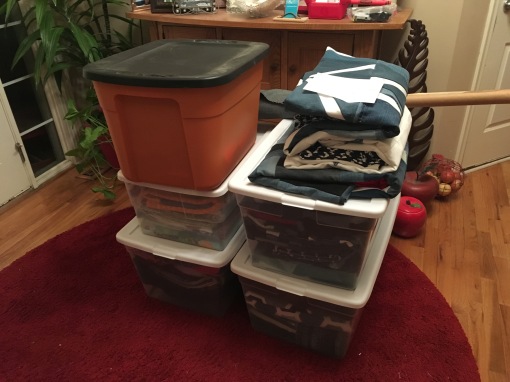 I still have quite a bit of denim left to use. I have been spending some time trying to come up with some new and fun patterns to try. I think the next one is going to be based on BowTies or perhaps PinWheels. If you have a favorite pattern that might work well with the denim, PLEASE pass it on! I am determined to see this ‘quest’ through! (And afterwards, it may be a very long time before I opt to work in denim again.)
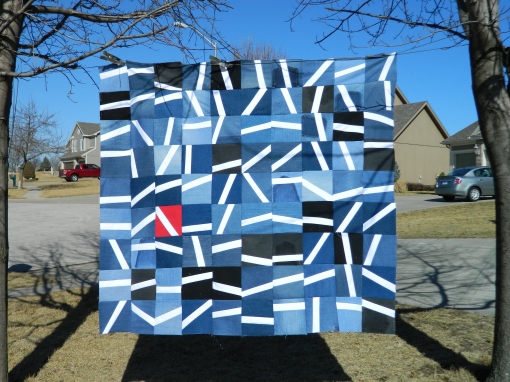
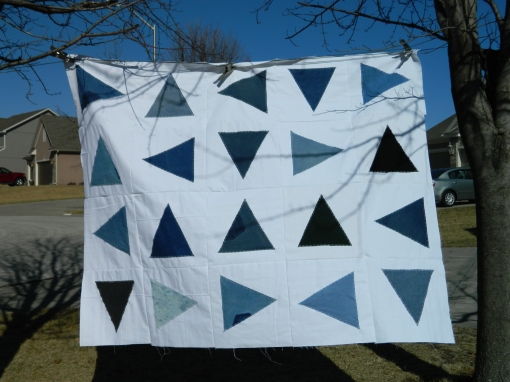 This one was inspired by a Pinterest PIN. The one I saw (and which cannot locate now!) had a dark background with light colored triangles in a lightweight cotton. I had cut these triangles during the ‘great cut marathon’ with this quilt in mind.
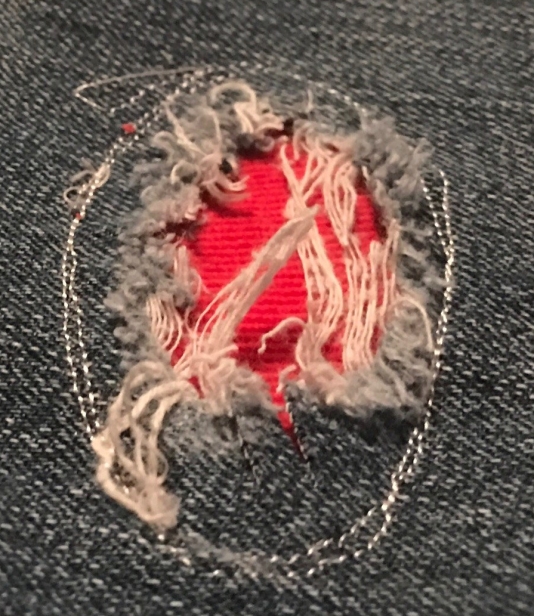

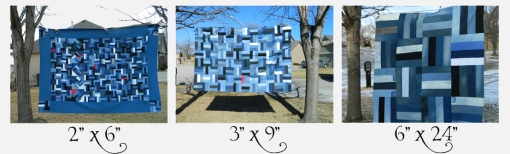 Now, this size – 3″ x 9″ – turned out pretty great, even if I have to say so myself. I think that the use of the red flannel would be the perfect ending for this quilt. Add to it the gold jeans stitching and this will be awesome!
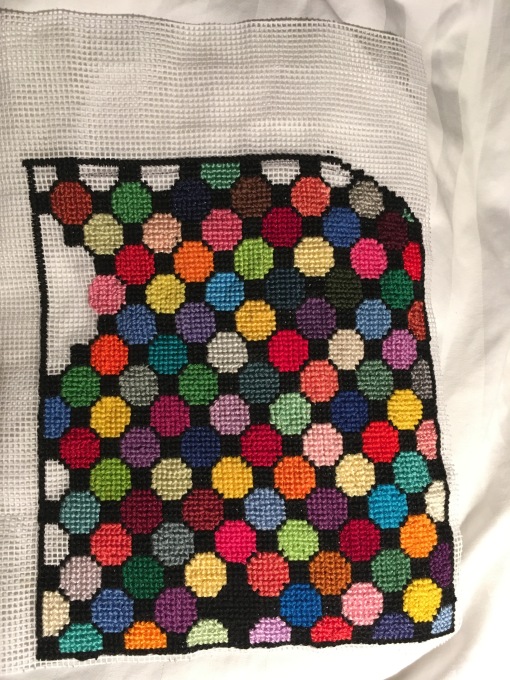
 I used up a fair amount of those big/long pieces (6″ x 24″) in other quilts, like a large scaled Fence Rails, but I still had a fair amount left. So, I used most of the up in a large scale “French Braids” quilt.


 I am not including the instructions for making this quilt in this post (but may sometime soon). I have a ulterior motive for asking you to go to Instructables.com to view, I want you to vote the
  So a few nights watching the new season of “Black Mirror” and then the “Phillip K. Dick’s Electric Dreams” and I ended up with this:
 Thanks for dropping by!
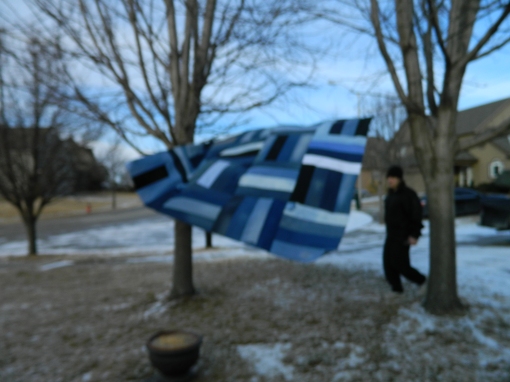 But, as you can see, it was cold and windy and we were trying whatever it took to get those pictures and get back in the house… QUICK!
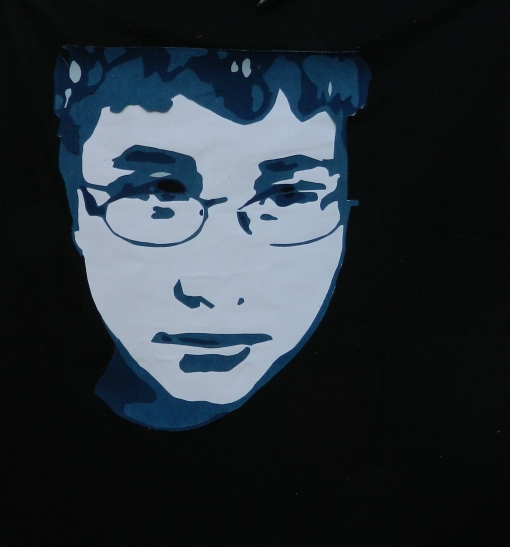


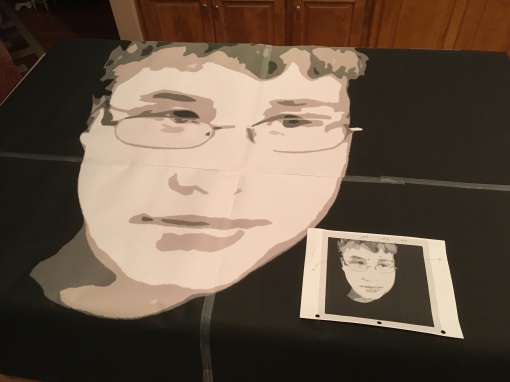 I then carefully cut it into the separate pieces based on color. I used a wash-away adhesive to adhere the pieces to a single piece of denim. Once the top stitching is done (and I expect nothing but perfection from my long arm quilter), then the adhesive can be washed away.
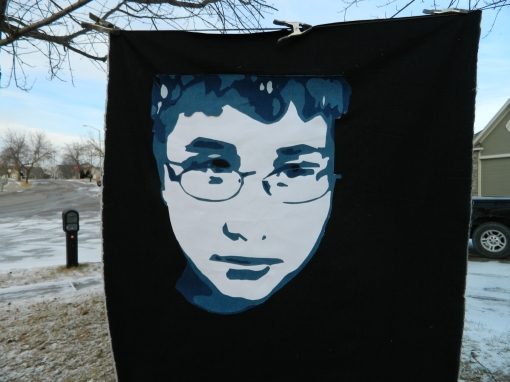 I really liked the way his face is offset in the photo and am contemplating stitching or embroidering his name into the quilt below it. There is a very special place in the house where this is destined to go. I just love it!
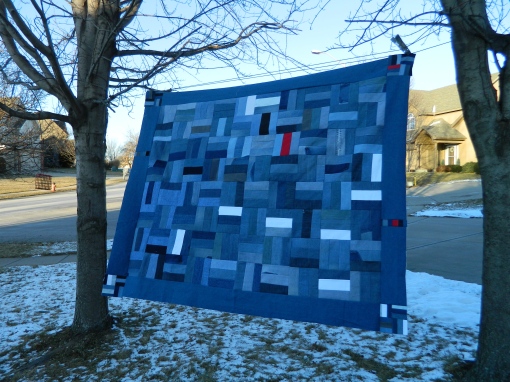
 I really like this one and so does The Kid; he has already claimed this one! Like he needs another quilt on his bed!
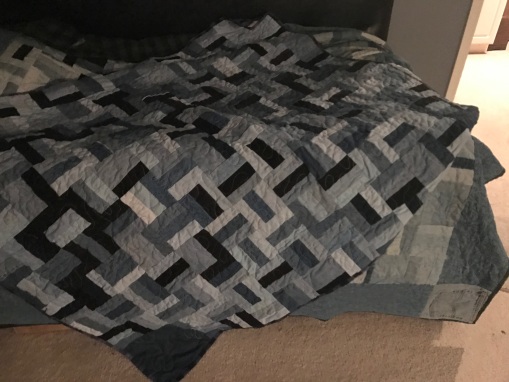


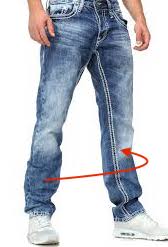 The seams from the back and crotch go into this as well, when they represent a significant length. Most of the time, to get really long unbroken seams I will leave in the ‘intersections’ of the seams, but in most cases I will try to remove them when they’re too bulky. Unless you have a heavy duty sewing machine, you’re going to lost your cool sooner or later as these “knots” (as I call ’em) will break your thread, break your needle and in the worst conditions, break your machine!
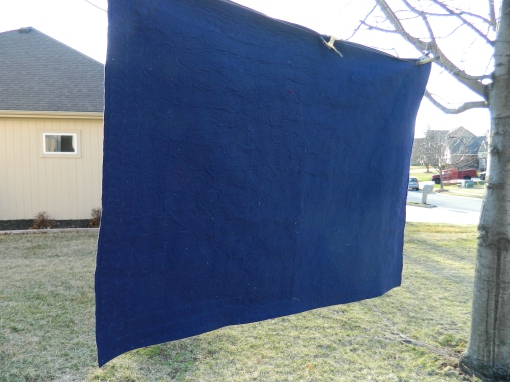
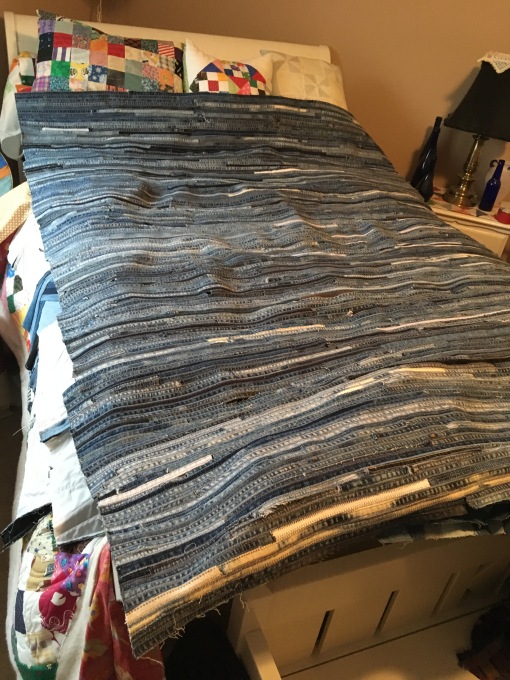 There she is! It is about 90″ long and about 70″ wide. I argued with myself back and forth on adding a border, but in the end, I think it will go without. I think just about any borders would pale in comparison and take the emphasis of the quilt away from its uniqueness. The backing is a deep indigo blue flannel that is just so soft. Once it is top-stitched (I am thinking blue jean “yellow orange” stitching) to help keep this beast together.