Temperatures in the midwest (all over the country actually) have dropped sharply with the advent of this ‘arctic air blast’. All I know is one day I am driving home from work with the windows down, temps about 70 degrees with a slight breeze, and overnight, there is a light snowfall, winds are brisk and daytime temps don’t break the 30 degree mark. Brrrr!!
What the bigger picture means for me is that I need to get the third stall of the garage cleared, get the car washed/waxed/detailed and then safely tucked into the garage for the winter. Me thinks it is going to be a cold one!
So, to that end – getting the garage cleared out – means getting some projects done (and sold) so that we can reclaim that space. Here is what the garage looks like as we try to tackle multiple projects at the same time… all with some urgency:

I picked up this cute little trunk at an estate sale. It had a name and some flowers painted on the top, so am really just in the mode to sand the top, prime and then repaint the entire thing. I would LOVE to keep this, as it matched all of the cabinetry in my sewing/craft room, but I don’t think it is possible to square that much space out from the room!

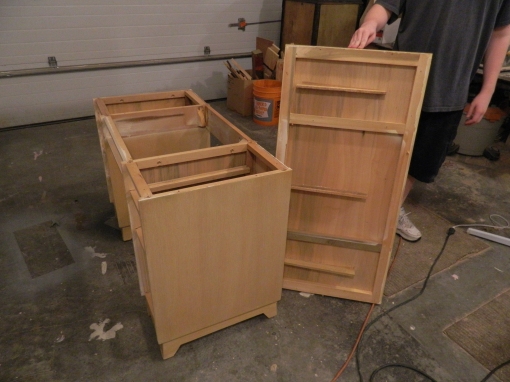
Dresser Number 1: This five drawer dresser is a solid piece of furniture and has a matching 3 drawer chest as well. These are slated for the pink ombré style and hopefully will be sold together.

Dresser Number 2: As indicated this one will be finished in the most beautiful shades of pink:
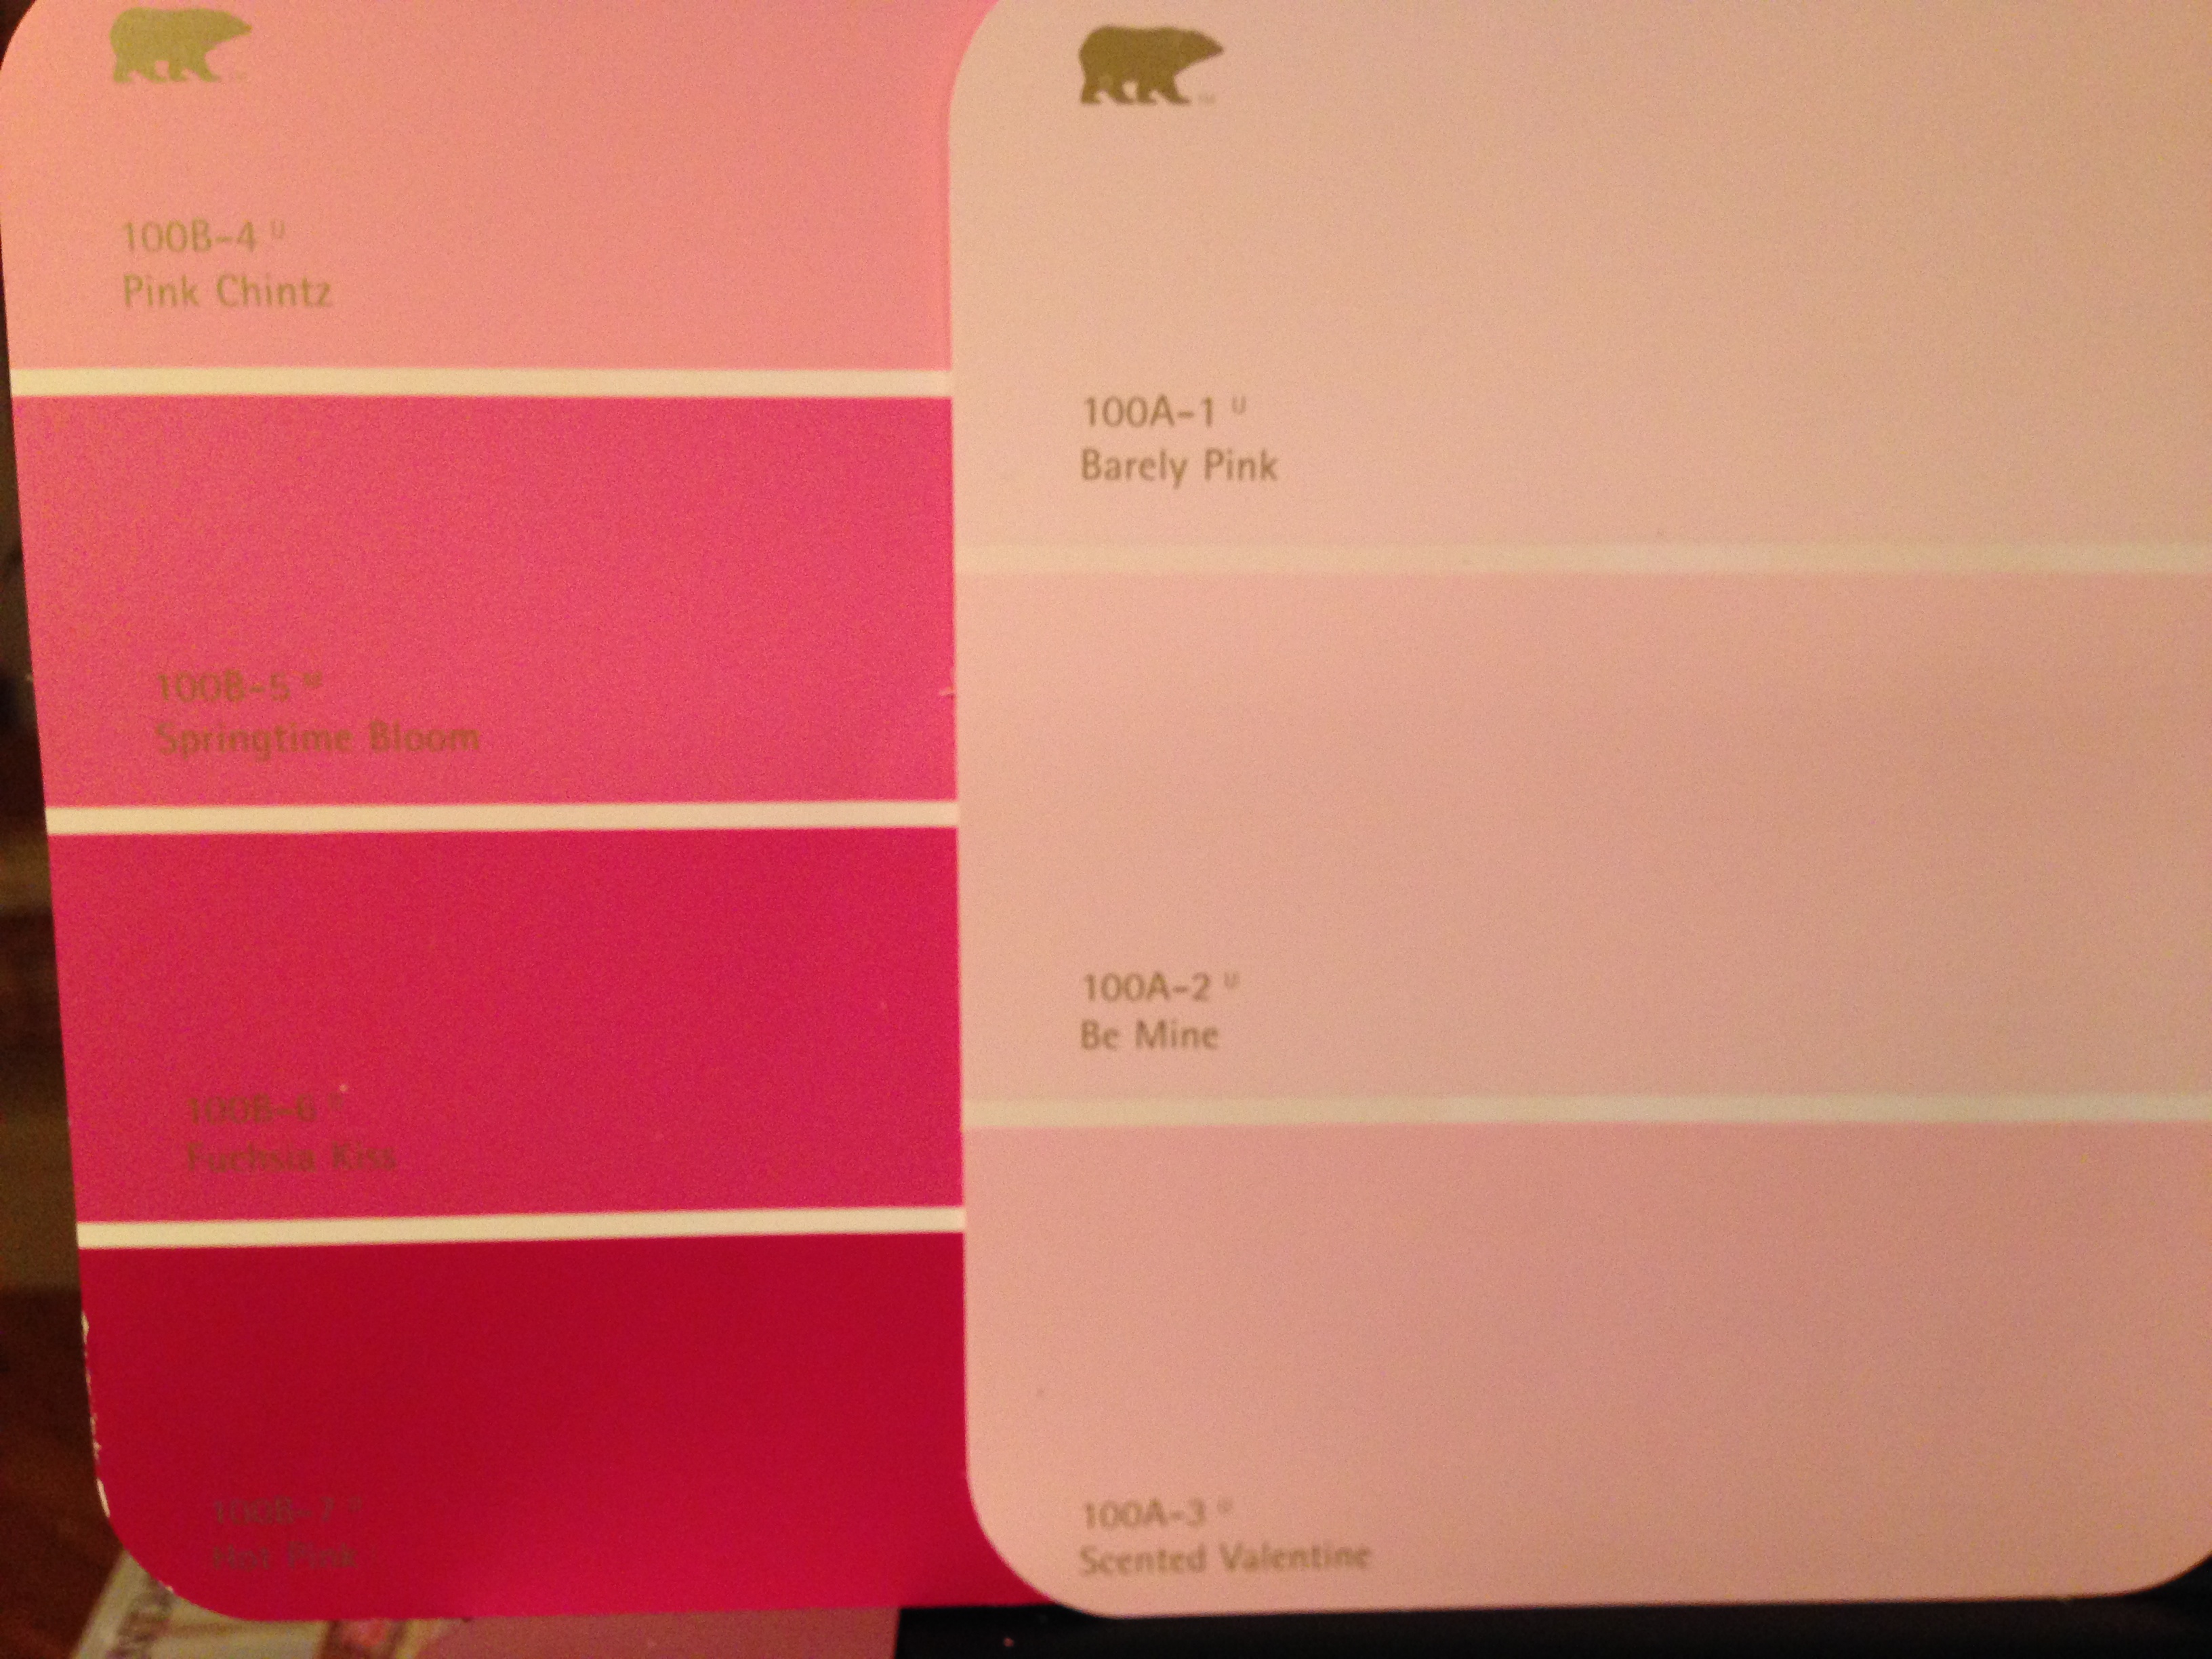
I use all of the darker shades of pink from the left card and the bottom (Scented Valentine) from the bottom of the card to the right. The cabinet color is the top and lightest pink (Barely Pink) which paints oh so beautifully over the white primer.

I haven’t quite decided on this dresser… the drawers have ‘cut away’ handles, which I am not fond of. On occasion, I have been known to fill these in with wood filler, but the depth of these are probably too much to fill. I am giving some consideration to doing another suitcase dresser (you can see them here and here), although that process takes considerably more time than just paint. We’ll see how the rest of the projects are going before I decide.

We needed some room to work tonight, so all of the primed drawers have been piled up on a table in my “paint booth”… no spray painted needed for the next few days, so I am taking advantage of the unused space.
Two of the dresser cabinets required new tops. It never ceases to amaze me how much damage a person can inflict on the top of a dresser. But, honestly, it is so much easier to replace the dresser top than drawers and sometimes it is all that is needed to make on older piece look brand new. We procure two 1″x12″ of pine and look for boards that don’t have too much knotting or overt grain patterns (above). Once in a while, I even just stain the top if it looks nice enough. The boards are fitted together, glued and clamped.

Once the glue had dried and clamps removed, the board is cut to length (essentially cut in half). Then using the tops that were removed from the cabinets, the exact shapes are traced and a jig saw is used to cut them out. You can see one on the floor and the other on the table. Next step is to route a nice edge and then some sanding.
 Here is the mirror and frame for one of the dressers… this is bound to be part of a pink dresser.
 A shot of the “other side” of the garage… where my sports car needs to hibernate for the winter. Doesn’t look like it, but we’ve really made a big dent. And once sold, it should be a nice little chunk of money. The Kid is hoping to use the money as a down payment for his real “first” car. It is giving him some real incentive to keep him working.
 We started this out on Sunday, things neatly lined up – being accessed, planned and prep’ed. If you’re wondering about the carpets, I collected them from CraigsList. They make standing in the garage much nicer, they help to soften noise and it allows me to run out there without shoes on, if I need. Plus, for some odd reason, The Kid is much more willing to vacuum the garage, rather than sweep. Go figure!
 Check out my work space! Isn’t it lovely? I so enjoy working here now that things are clean, organized and equipped.
Much work still to be done, but we’re making progress!


