Whew! We’ve finally completed this project. It has been a long time in the making, but I finally was able to get it done with the help of The Kid.
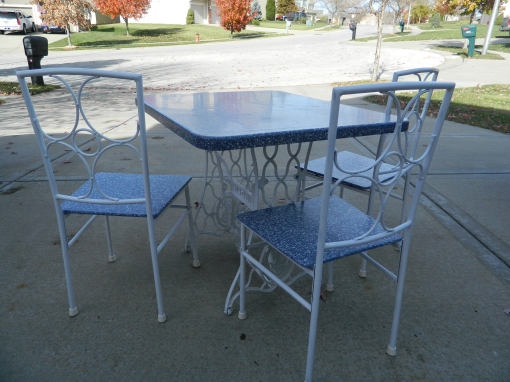 So, you can see the starting point here, but I will give you a quick catch up. Months ago, I picked up several pieces of blue Corian countertops, including a smallish rectangular piece that I think was the counter surface for an island. Wasn’t quite sure of what I was going to use it for, but when something like that pops up on CraigsList, you get it while the getting is good.
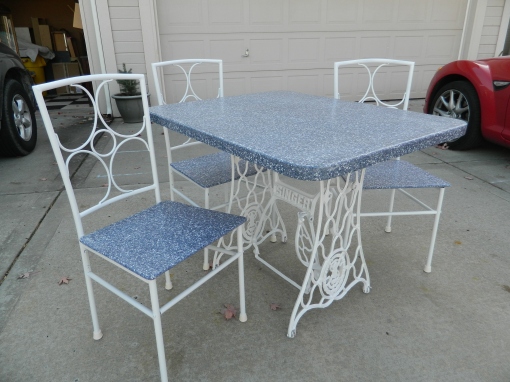
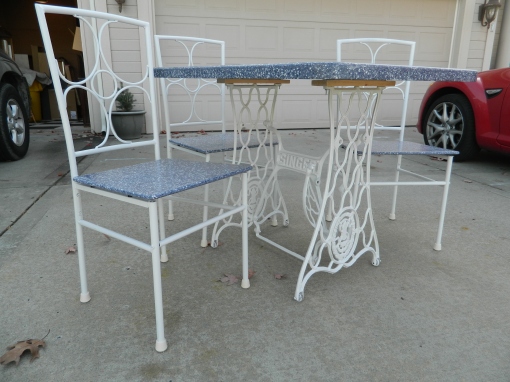
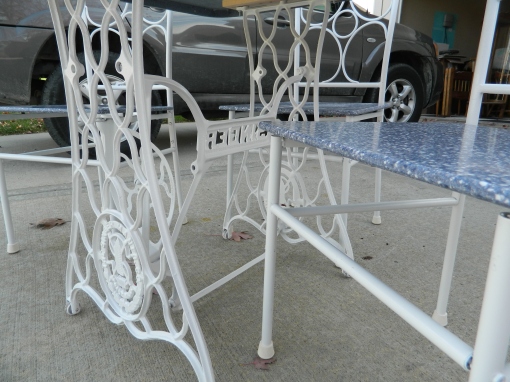
I had the sewing machine base from one of our abdandoned house hunting trips and had spray painted it white, sort of as a primer. But once I saw the countertop, I knew it was a match made in heaven. Literally, all I had to do was set the top on the base and I could see something really unique.
Initially I was going to just make and sell the table, but I figured it would be cooler if there were a set of chairs to go with it. I kept an eye on CraigsList and almost like it was scripted, a set of four popped up. Now they needed work (of course they needed work, else they wouldn’t be on CraigsList for free) and I opted to pick them up, thinking I could get two good ones if I used the other two for ‘parts’. As luck would have it, three were salvageable.
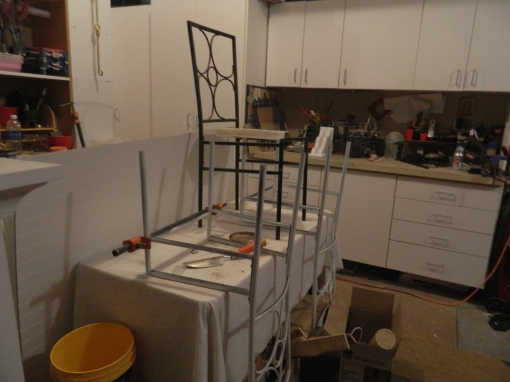 After removing the seats, I then spray painted everything with high gloss white spray paint. This was not an easy task. It seemed every time I thought I was done, I would turn it upside down or stand at a different angle and would see areas that I missed. I think I have them completely painted now.
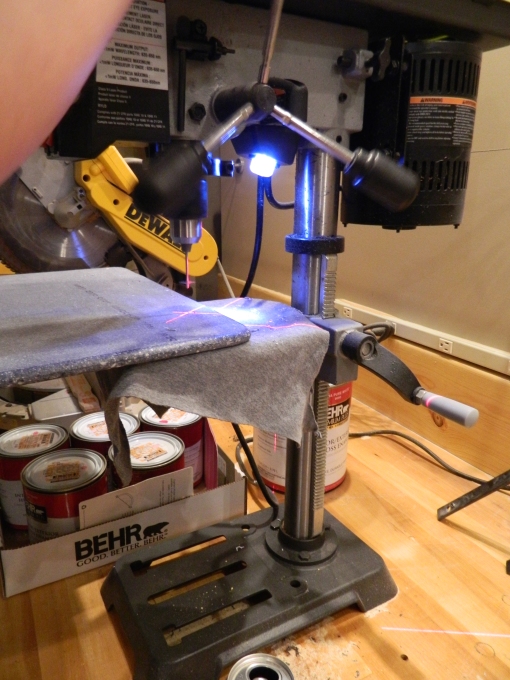
I used the seat that came with the chairs as a template and we used more of the Corian countertop for the seats. The Corian worked much like any hard wood, and we were able to route the edges and drill holes to attach the seats to the chairs.
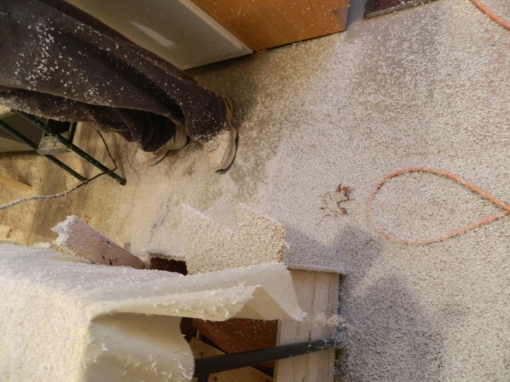
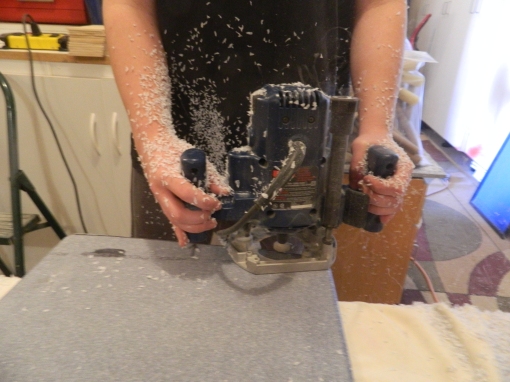 The one thing that we did notice, however, is that working with the Corian results in a LOT of ‘saw’ dust. The workshop looked like it had snowed!
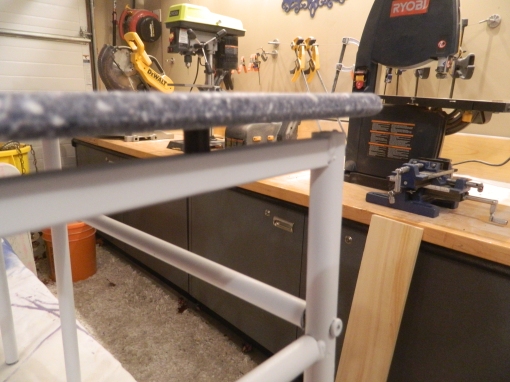
 I didn’t want the seat to sit directly onto the base of the chair seats; since the previous seats were actually upholstered, the flat pieces didn’t exactly line up right with the exposed hardware on the chair.
 By having and using the right tools for the job, the project went very well. Here is The Kid using our newest addition to the workshop, the drill press. SUH-weet!
 Here he is in the final assembly. Note the nice, smooth, rounded edges. And interestingly enough, by routing the edges (top and bottom), it actually gave the edges a polished finish. Nice, happy accident!
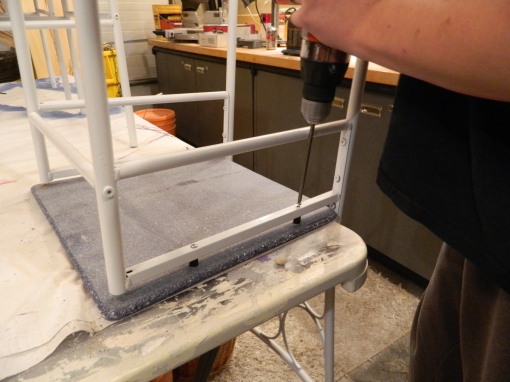 By using some spare hardware(found when reorganizing the garage a week ago), I was able to give it a little more ‘polished’ look. And gave the necessary height for sitting at the table. The final detail was to add rubber ‘feet’ to the chairs, to protect the floors that the chairs would sit on.
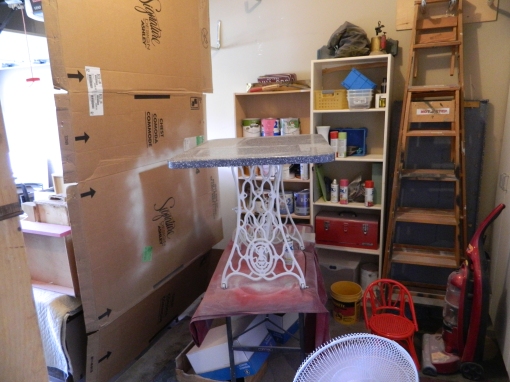 More about the table: we had previously cut and glued a 1″x8″ on the back side of the table. Then two supports were added to the top of the sewing machine base, allowing the table top to be bolted onto the counter surface. This could be beneficial for the person or family that buys it, allowing for easier transport. Did I happen to mention that this stuff is heavy! And it has a nice solid feel as well.
The Kid’s help was immeasurably helpful in completing this project, and heck, I just like hanging around with him. 🙂
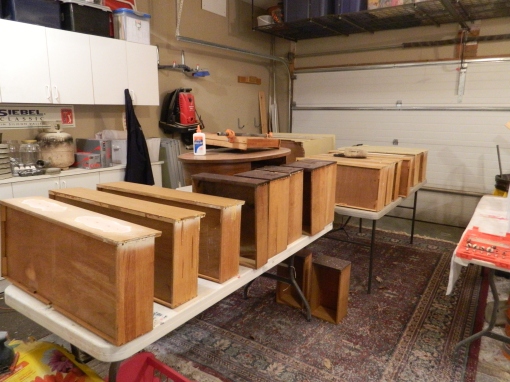 In between helping him, I was also prep’ing an additional 5 or 6 more projects… here are the drawers all being sanded and hardware holes being filled. The Kid has been tasked with putting the first couple of coats of primer on all of these now that I have gotten the prep work out of the way. All of these pieces of furniture are all wood and it makes the chore of preparation that much easier. Oh, and by the way, real wood pieces are light. I think a lot of people mistakenly think something is more ‘solid’ or more ‘wood’ if the piece is heavy and that generally is not true. What weighs so much is the glue and the layers of particle board or composite wood. Most of these pieces I can move by myself if I take the drawers out ahead of time. Another thing I really like is that some of the older pieces come with wheels attached and you gotta love that!
So, a few more photos as I close this post. If you recall, the third stall of the garage is where my sports car (you can see it in the background of this first photo) is stored once snow has fallen. And I’ve heard that there is an “arctic blast” predicted for the end of November, so I have to get projects done and sold (and delivered) very soon.
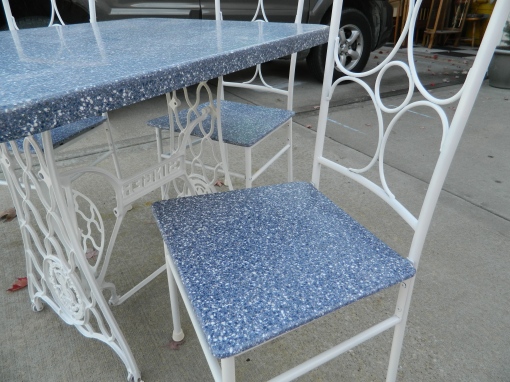 Off to get this listed for sale on CraigsList. My kitchen is red (as you may know) or I might be tempted to keep this one for myself!
31.5 x 39
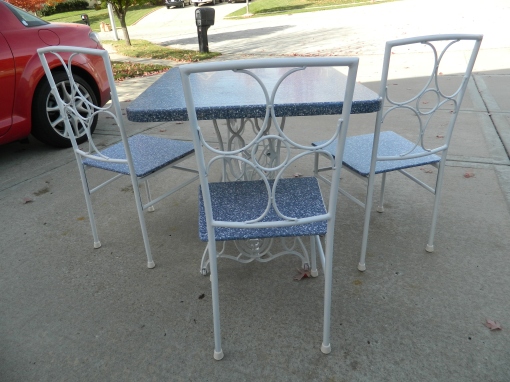

Fun. Interesting!
Thanks Juanita! I don’t do it unless its something I find fun and I love when an idea works!